WordPress
Integrating WordPress with Contentpen allows you to publish articles directly to your WordPress site with a single click. Once connected, Contentpen can fetch authors, categories, and send articles straight to your blog as drafts or published posts.
This guide walks you through the complete setup process.
Step 1: Open integrations in Contentpen
Log in to your Contentpen dashboard
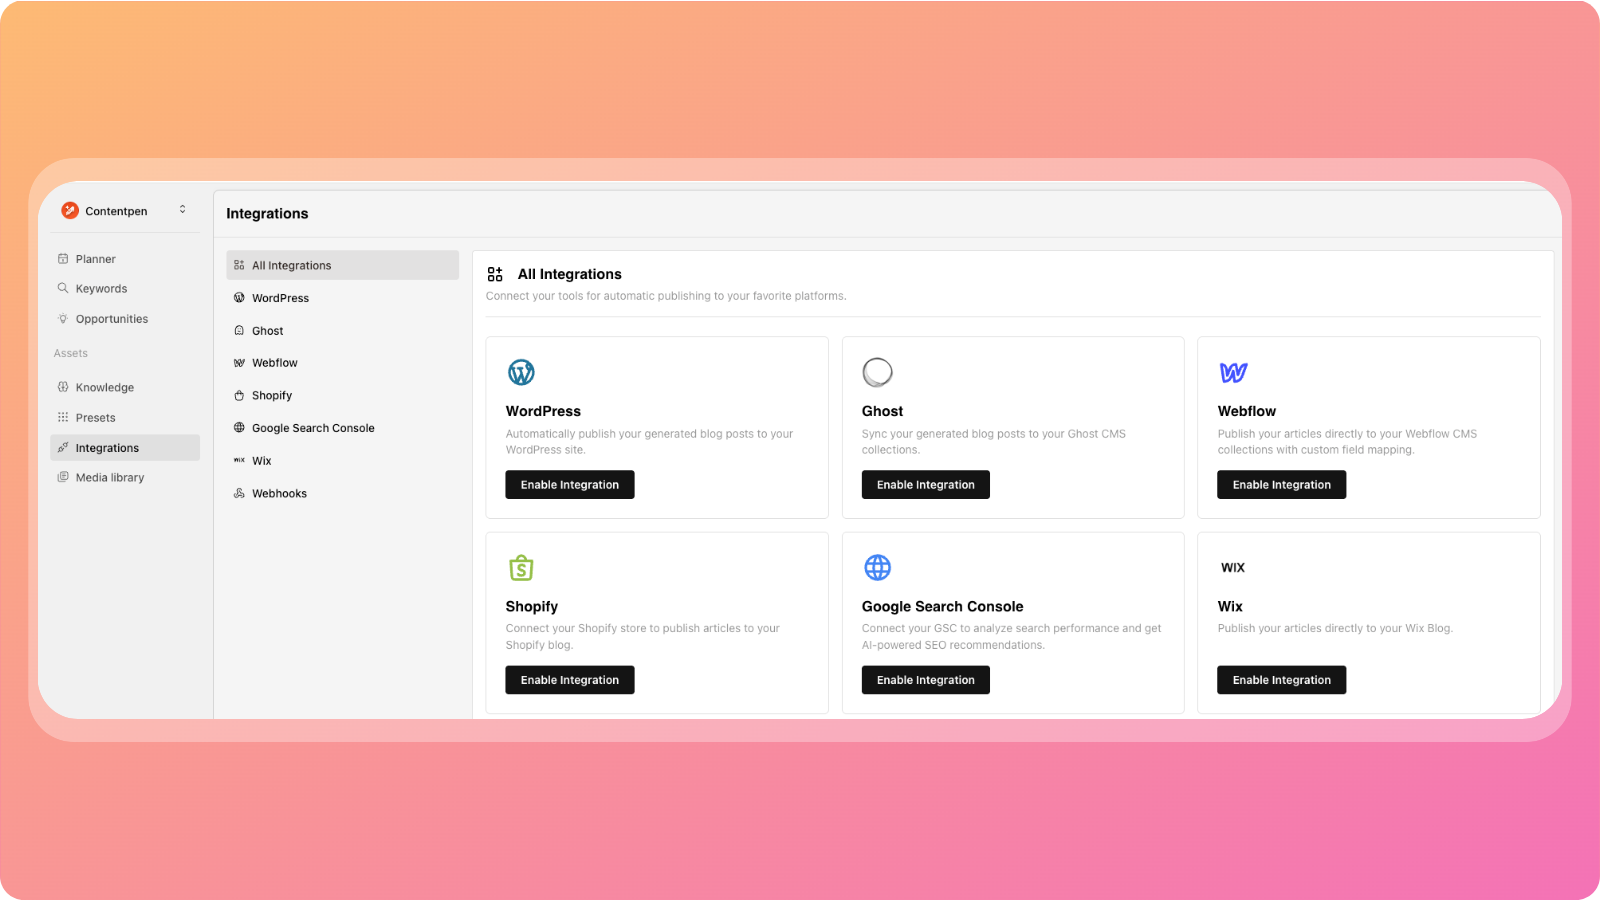
Go to the Integrations page
Click on WordPress to start the integration process
You’ll now see the WordPress integration setup screen.
Step 2: Add your WordPress website
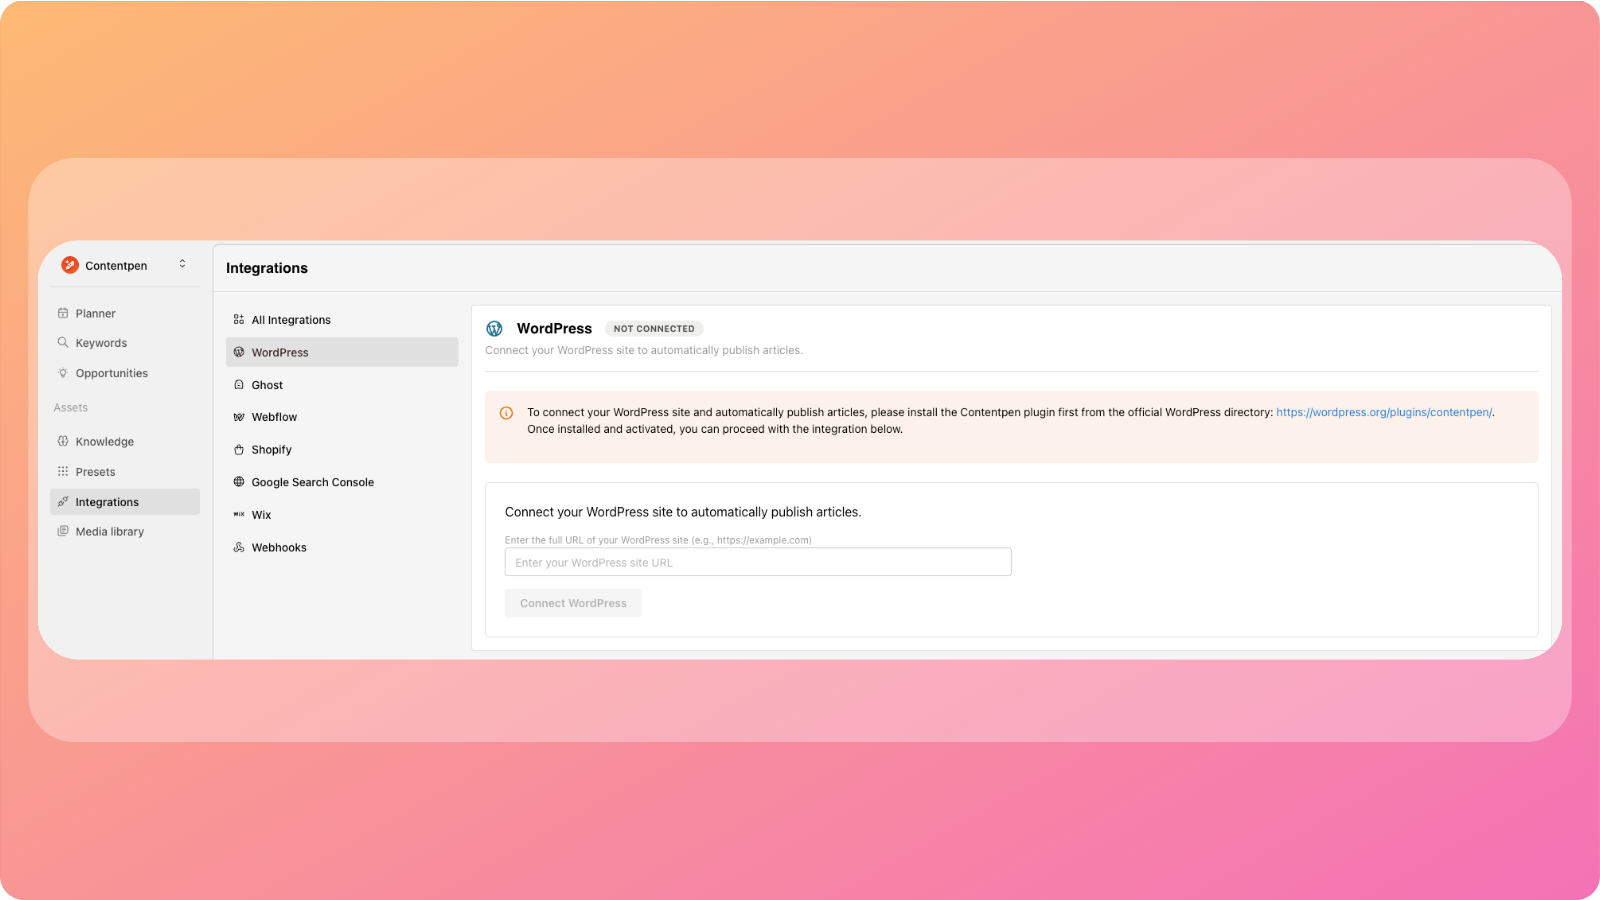
Paste your WordPress website URL into the provided field
Contentpen will generate an API key for your site
Keep this API key handy, you’ll need it in the next step.
Step 3: Install the Contentpen plugin on WordPress
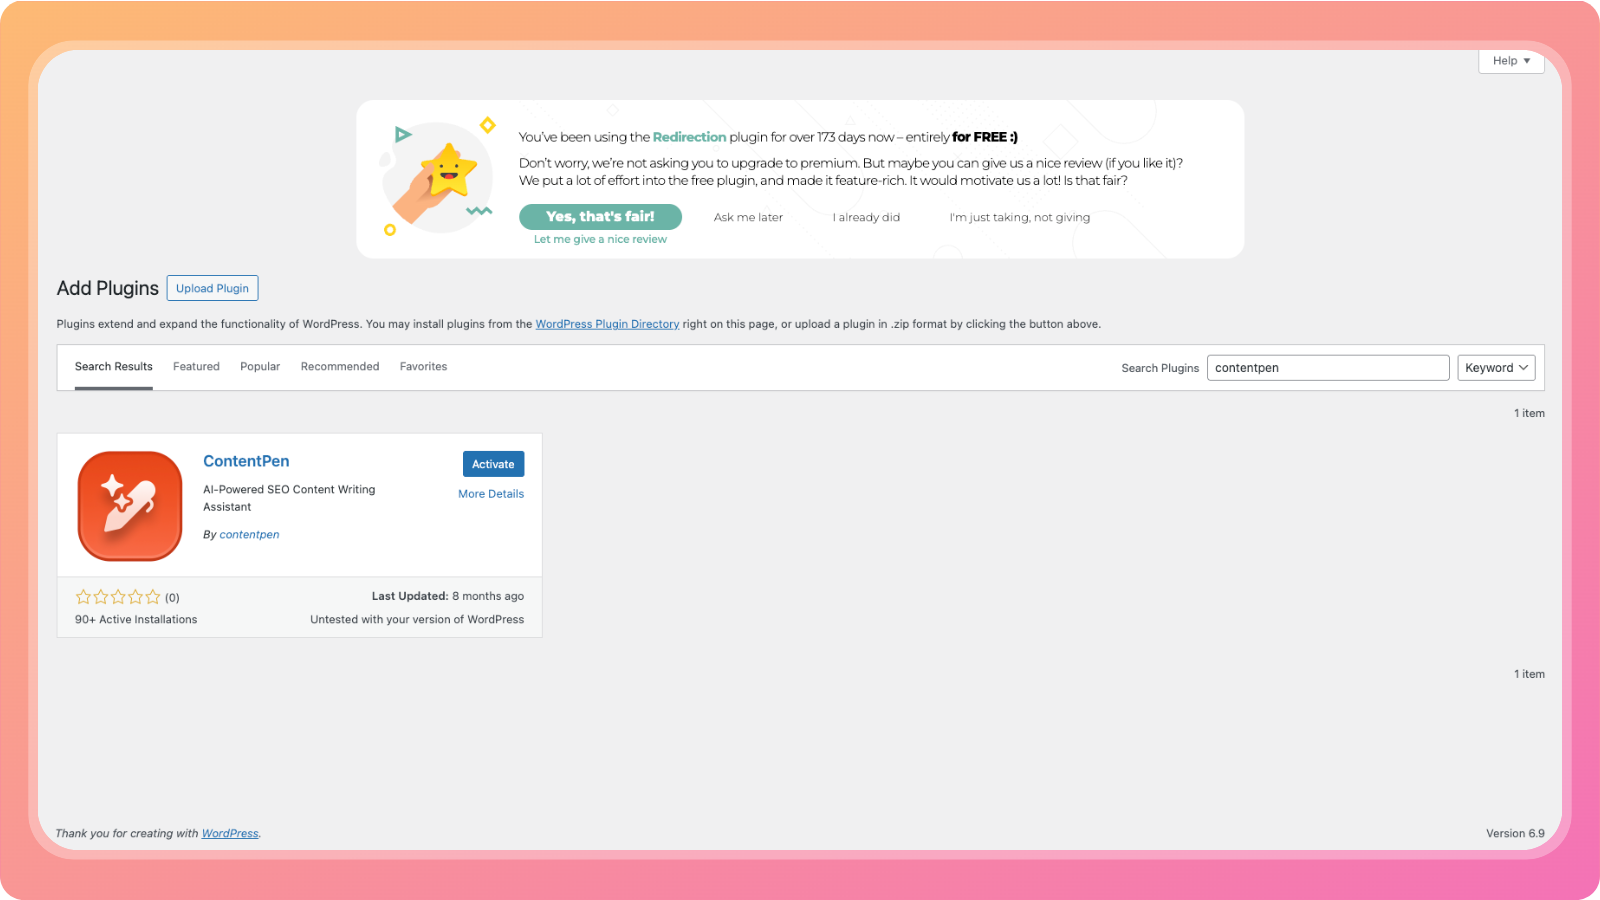
Log in to your WordPress admin dashboard
Go to Plugins → Add New
Search for Contentpen
Install and activate the Contentpen plugin
Once activated, the plugin will appear in your WordPress menu.
Step 4: Connect the Plugin using the API key
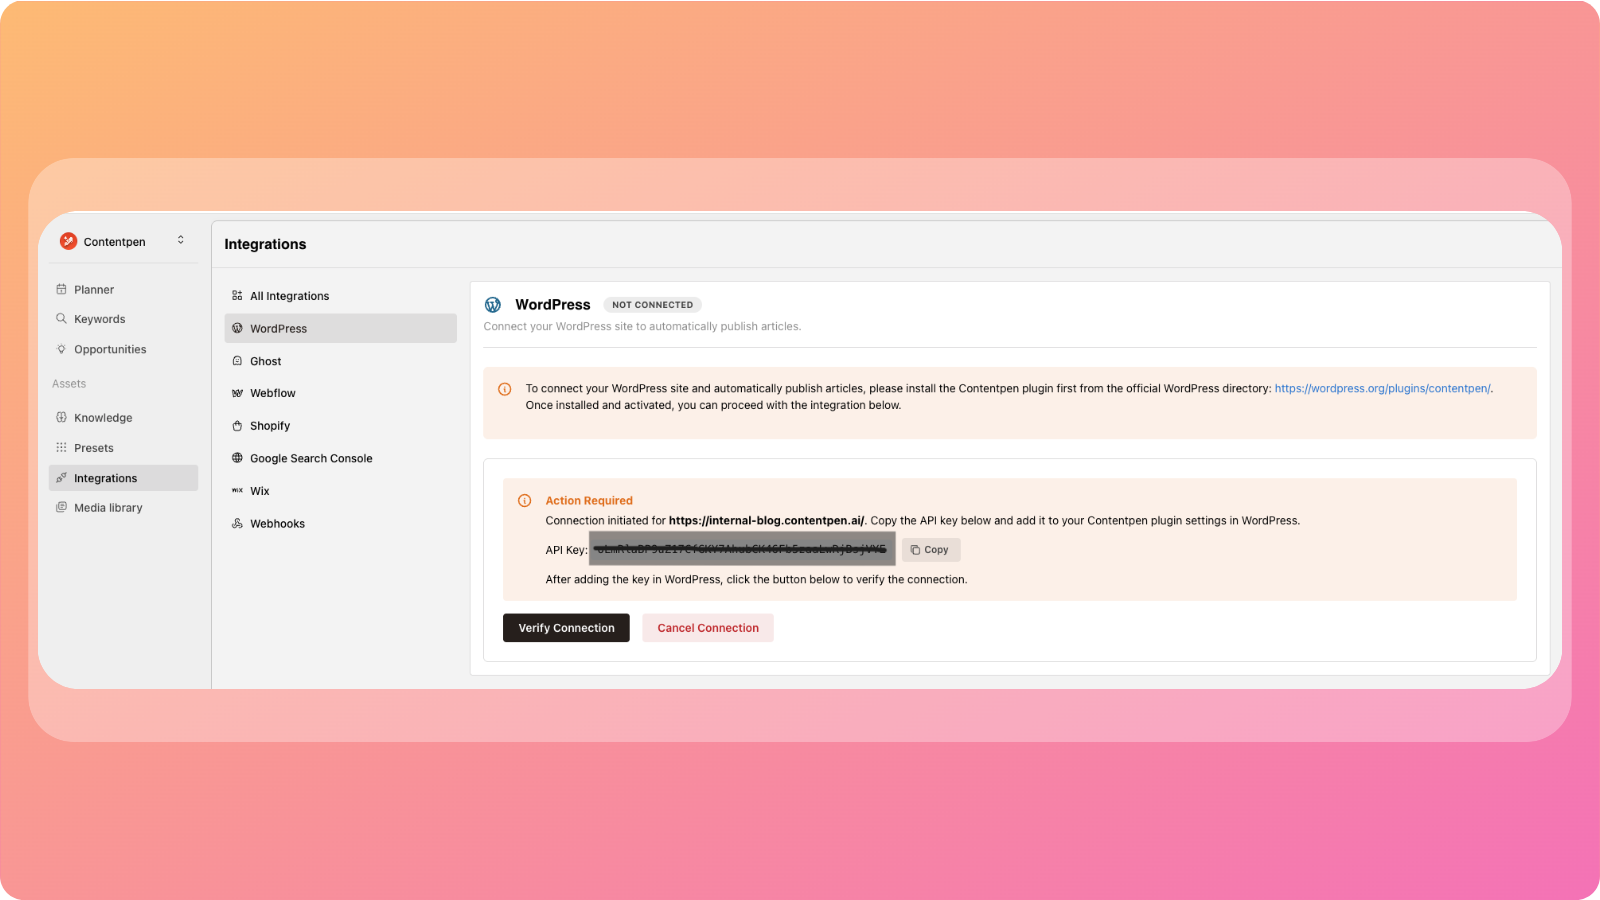
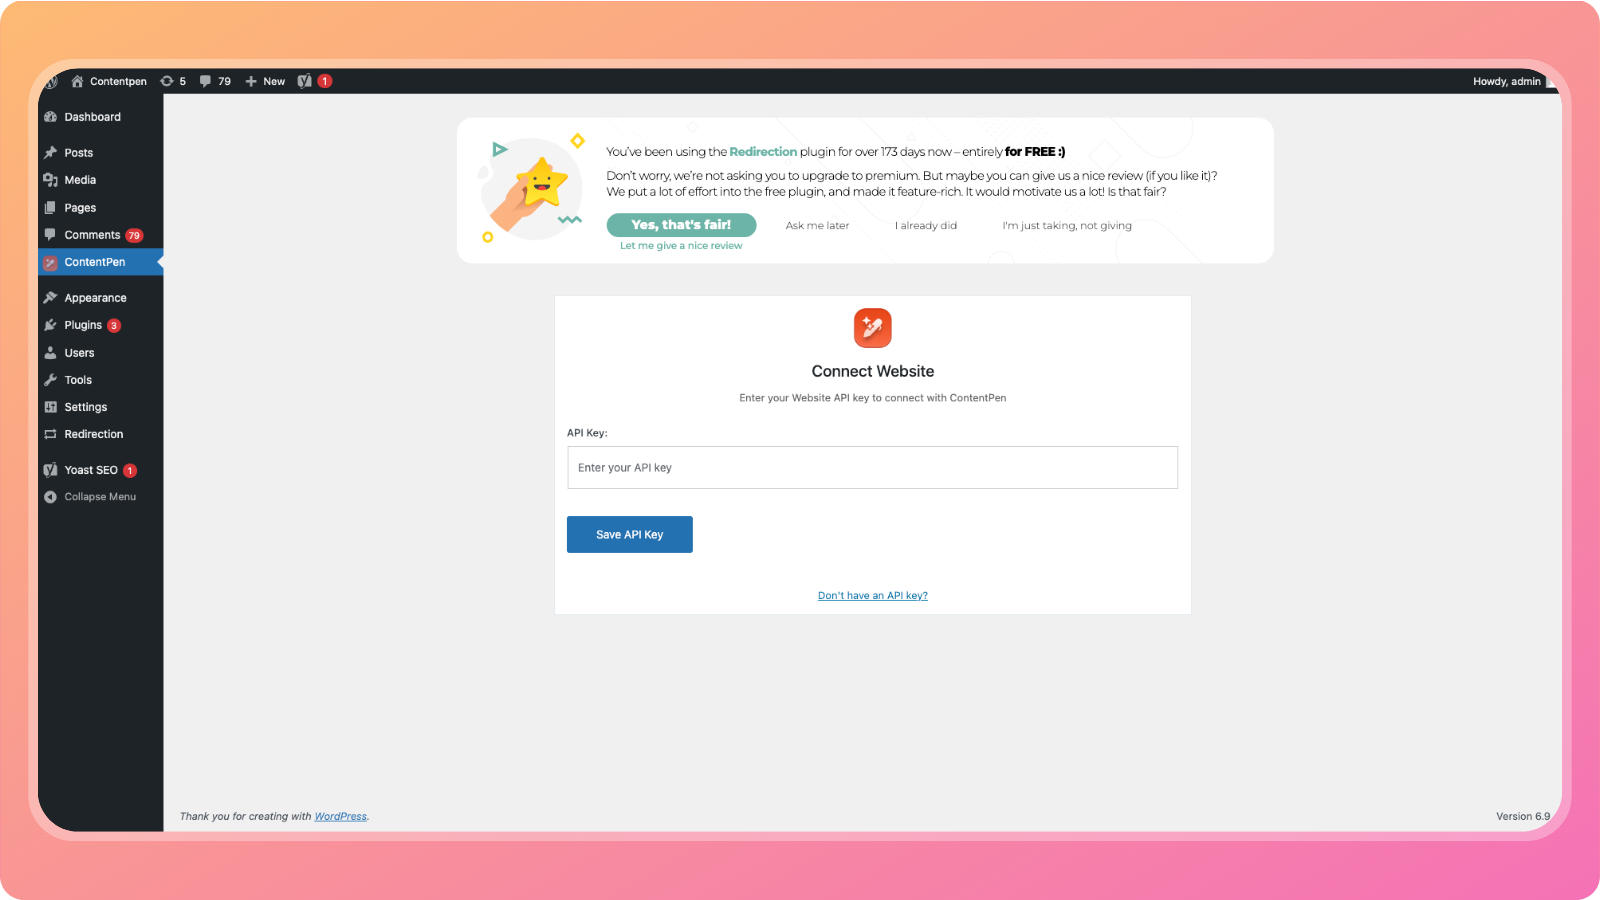
Copy the API key from Contentpen's Wordpress integration dashboard.
Open the settings of your Contentpen plugin in Wordpress.
Paste the API key you copied from Contentpen
Click Save API Key
This allows your WordPress site to securely communicate with Contentpen.
Step 5: Verify the Connection

Go back to your Contentpen WordPress integration dashboard
Click Verify Connection
If everything is set up correctly, your WordPress site will now be connected to Contentpen.
What happens after integration
Once connected, Contentpen will:
Fetch available authors from WordPress
Fetch categories for publishing
Allow you to publish articles as:
Drafts, or
Published posts
All publishing options will be available when you click Publish inside an article.
Your WordPress integration is now complete. You can start publishing content directly from Contentpen without switching platforms.
Was this article helpful?